
DIY Car Maintenance: How to Jumpstart Your Car
 Many of us have experienced it before and likely will at some point or another in our lives. You go to turn on your car only to find that the ignition won’t come on. With the turn of a key you’re met with nothing but a few clicks and the knowledge that your car battery has died. So, now what do you do? You can call and wait for a professional, or you can take matters into your own hands.
Jumpstarting a car is an easy enough task. You just have to have the right tools on hand, know the proper safety procedure and remember a few simple steps. So, grab those jumper cables, and let’s get started!
Safety First
Before you even touch anything on your car to start the jump process, be sure to weigh all of the safety risks. If you have no idea where to begin, it’s best to consult your owner’s manual to see if any special measures need to be taken with your particular vehicle. And, if all else fails, you can always call a professional to come and help you out.
If you decide to move forward and jumpstart your own vehicle, take all necessary measures to prevent electric shocks. Remember, the very purpose of using jumper cables to jump a car is to move electricity from one vehicle to another. So, once you’ve attached one end of the jumper cables to a car, whatever you do, do not touch the metal clamps to anything (especially themselves) other than their intended destination.
Steps to Jump a Car Battery
Fortunately, you don’t need many tools to jumpstart a car battery. You just need another functioning vehicle and some jumper cables that can reach between the two.
The Prep:
In preparation for jumping a vehicle, implement the following steps:
- Park the running car so that it faces the disabled vehicle, close enough for the cables to reach, and put it in park (or set it to neutral for a manual transmission).
- Set the parking brake in both vehicles.
- Turn both vehicles off, and remove the keys.
- Lay the jumper cables out on the ground, but make sure the clamps don’t touch.
- Open the hood of both cars.
- Locate the batteries and battery terminals (look in your owner’s manual if you’re unsure what to look for). Often the terminals are covered in red or black with a + or a – sign on top. If they appear dirty, wipe them off.
- Identify which terminal is positive and which is negative.
Attaching the Cables:
Once you’ve located and set up all steps to prepare, it’s time to begin attaching the jumper cables:
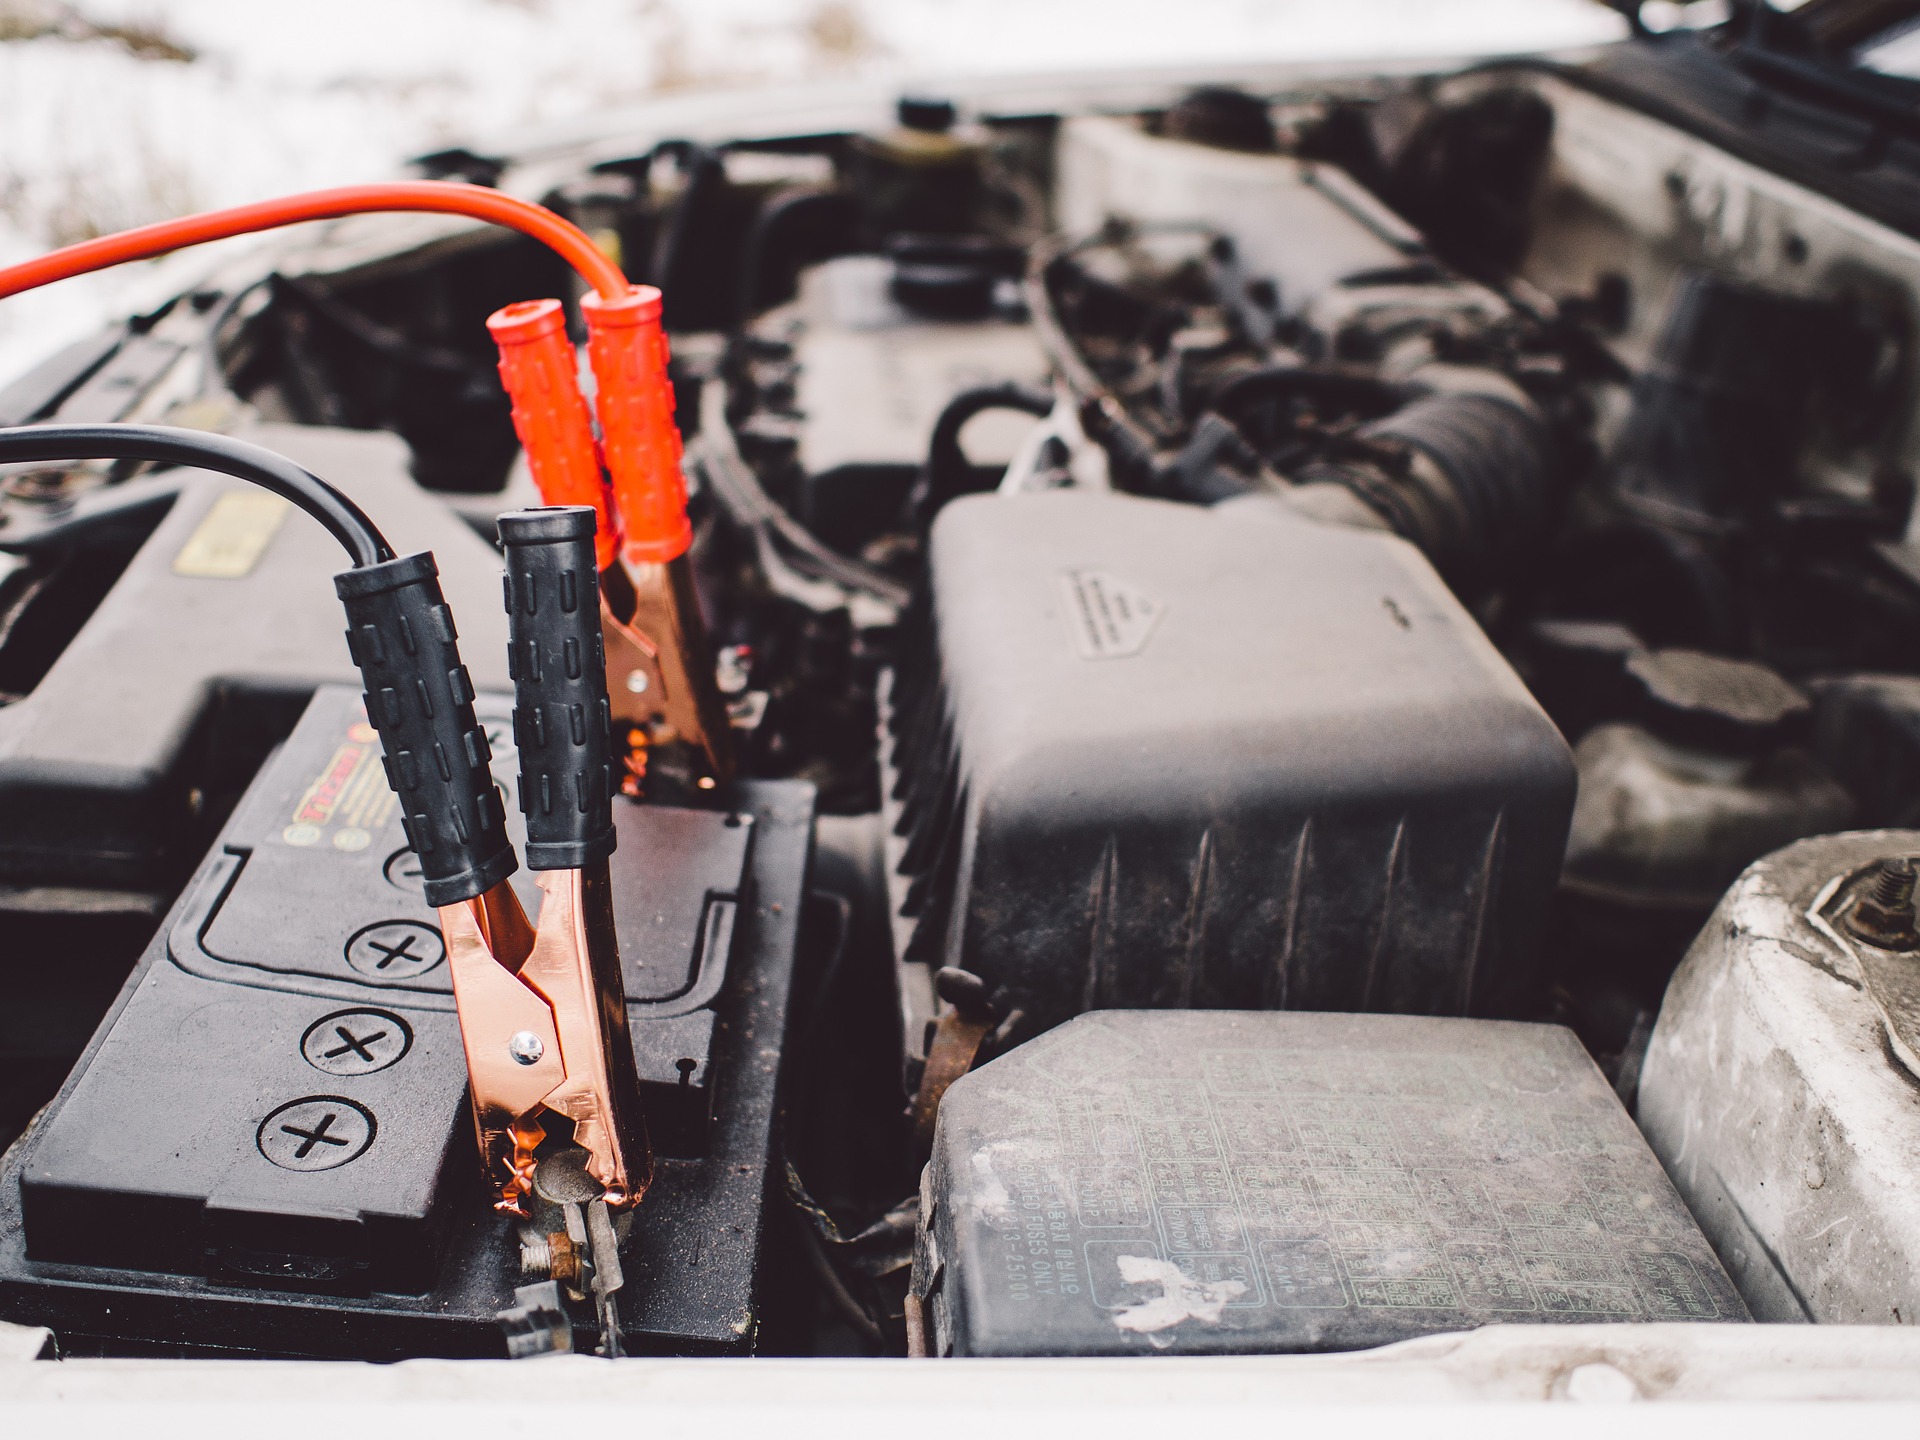
- Attach the red, positive cable clamp to the positive (+) battery terminal of the dead battery.
- Attach the red, positive cable clamp on the other side of the jumper cable to the positive (+) battery terminal of the working battery.
- Attach the black, negative cable clamp to the negative (-) terminal on the working battery.
- Walk over to the car with the dead battery, but do not connect the black, negative cable clamp to the dead battery. Instead, attach the clamp to an unpainted, metal part of the car, like a shiny, clean nut on the engine block to jump the car.
The Jumpstart:
Now that everything’s in place, you can jumpstart the dead car battery with these steps:
- Turn on the ignition of the working vehicle.
- Wait a minute or more to get the jump to work. It may take a little time depending on how old the other vehicle is and how long the battery has been dead.
- Try to start the vehicle with the dead battery. If it doesn’t turn on right away, give it another minute to charge, and try again.
- Once the disabled vehicle is back up and running, you can disconnect the jumper cables starting with the black, negative cable clamps. Be sure that the clamps never touch one another while attached to the car.
Jumping into a car with a dead battery can be a real hassle. Fortunately, it’s an easy enough fix with the right tools, safety measures and instructions. So, next time you get stranded, remember these steps, and you’ll be on your way in no time.